The IDIOM Workspace |
  
|
The IDIOM Workspace |
|
The workspace is the area in which you access the different IDIOM functions, such as creating and editing decisions and formulas. You may have multiple Workspace panes open at one time, and you may move between them by clicking on the standard workspace tabs, which are shown at the bottom of the pane.
On the very left hand side of the workspace is the boundary bar. As well as clearly marking the boundary between the explorer and workspace, the boundary bar will have a different colour for each of the main IDIOM functions, e.g. blue for formula's and green for decision models (see The Use of Colours and Icons). This visual tool allows you to clearly see what a particular workspace is being used for, which can be helpful when you have multiple Workspace panes open and need to move between them.
In addition to standard tabs, which you click on to display a particular pane, IDIOM also uses 'hover' tabs. When you move the mouse pointer over a hover tab, IDIOM displays the pane for that tab. You can then access the formula operators within that pane. When you move the mouse pointer away from the current hover tab, or click anywhere outside the pane, the pane you previously selected with the hover tab will no longer be displayed and you will only see its tab. To retain the display of the pane, click on the pane (see Controlling Pane Position).
The example below has a formula palette open in the Workspace.
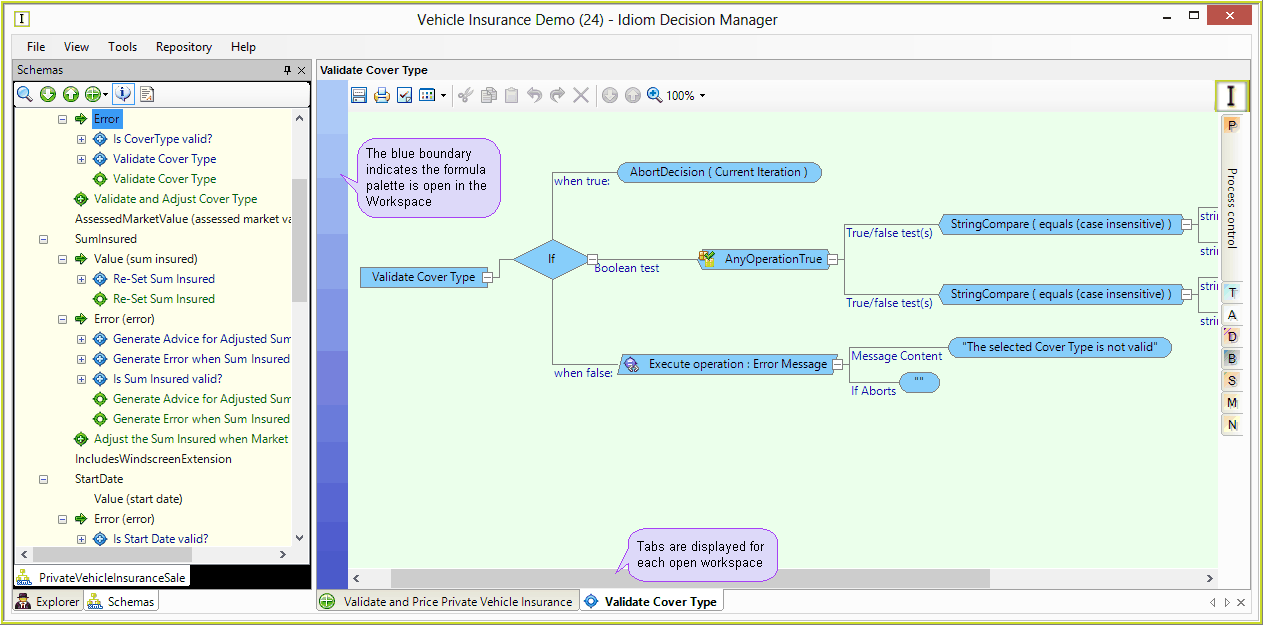
Figure 2-15: The IDIOM customized Schema pane and Formula palette.
Tab scrolling icons
When you have multiple panes open, IDIOM may not be able to display all of the tabs within the Workspace. You can use the tab scrolling icons at the very bottom left of the pane to scroll left and right. If there are hidden tabs to the left and/or right of the pane, the scrolling icons will turn black accordingly.
Tip |
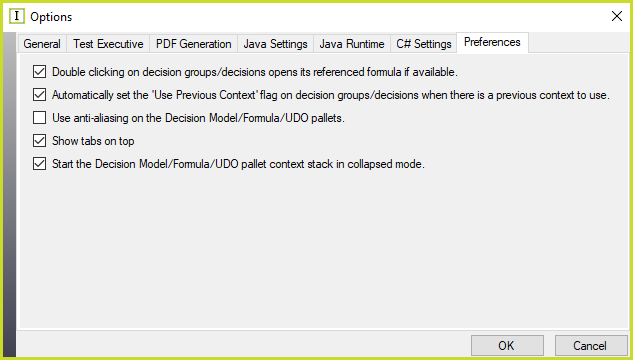
The Tools > Options > Preferences tab contains an option to display the tabs at the bottom or top of the workspace.
|
To close a selected pane, you may right-click on the selected tab, or simply click on the X in the bottom right corner of the Palette.
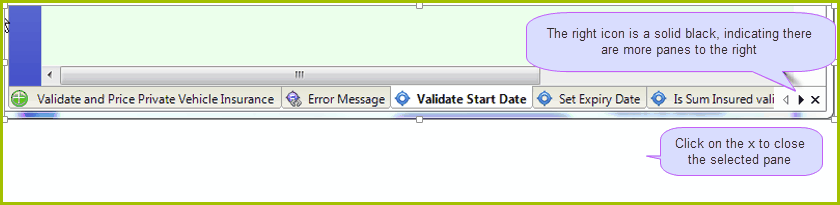
Figure 2-16: Tab scrolling icons
Tab right-click options
If you right-click on any Tab you can select from a list of all open tabs, sorted in to their various categories. You also have the option to 'close all but this', 'close all', or simply close the selected tab.
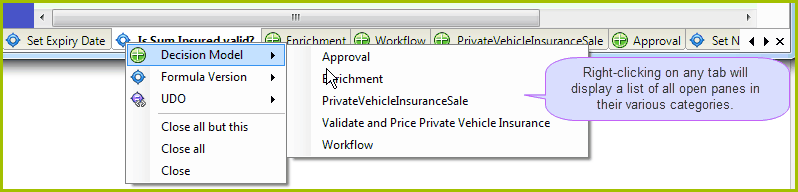
Figure 2-17: Tab right-click options
Context stack and Details panes
The Workspace contains two additional tabs in the upper right and lower left corners for the Context Stack and Details panes. The Context Stack pane shows the path to the selected Decision (Group) and the Details pane shows the properties of that Decision (Group), see figures 2-17a and 2017b.
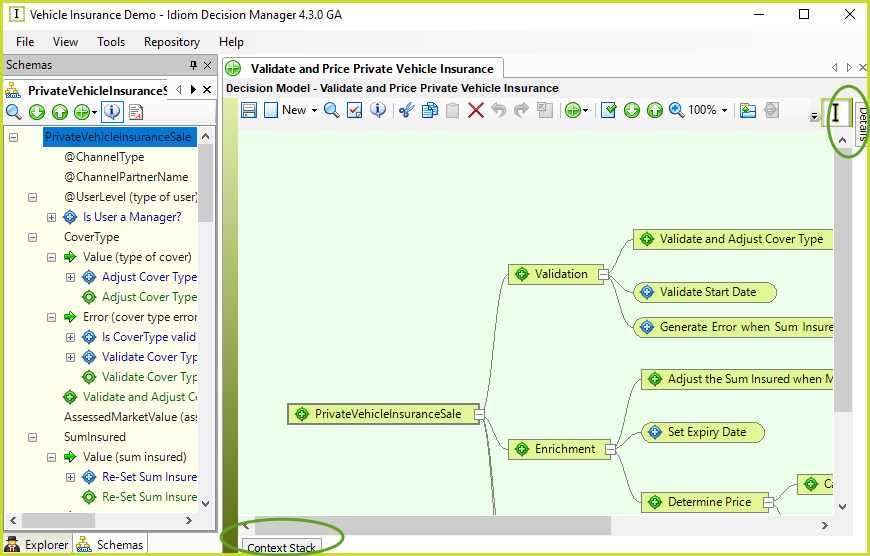
Figure 2-17a: Context Stack and Details tabs
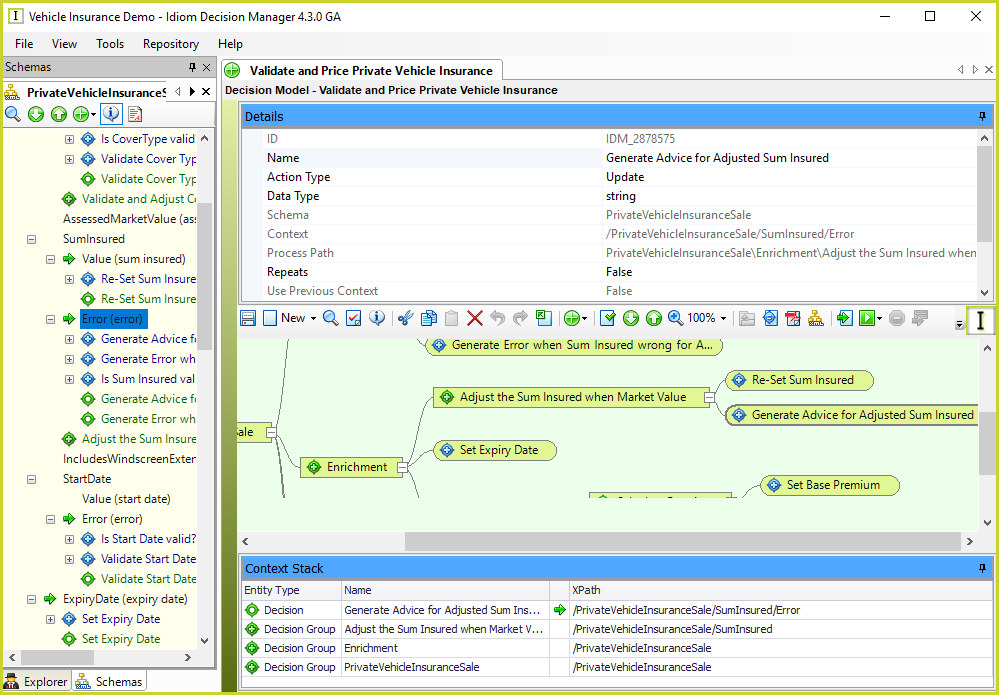
Figure 2-17b: Context Stack and Details panes
Right-click on a Context Stack entry to copy its value to the clipboard:

Figure 2-17(c): Context Stack Copy