Build and Test |
  
|
Build and Test |
|
Once you have:
✓ set up your test environment (see Setting Up the Test Environment)
✓ selected the platform you are working on (e.g. Java or C#. We are using C#).
✓ set your advanced settings (See Advanced Settings)
✓ selected one or more input files/folders
✓ selected the corresponding expected output files/folders (optional)
you can now execute your test.
1. |
Click on the 'Execute' button |
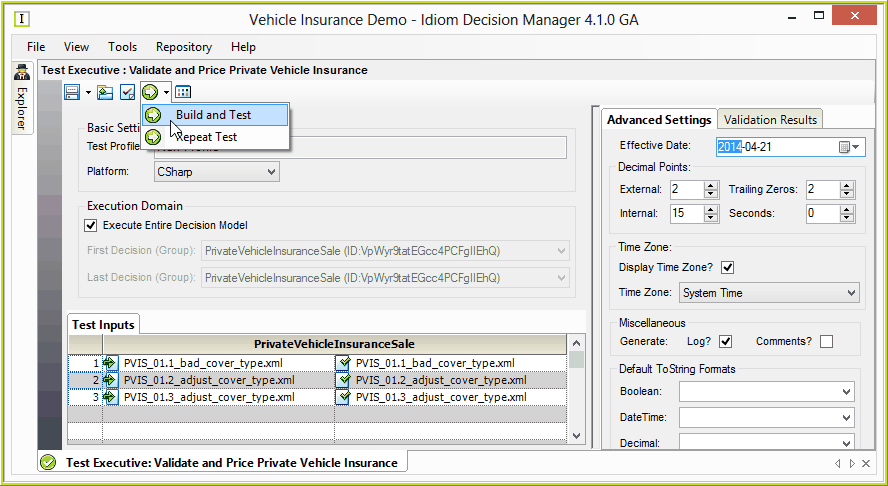
Figure 7-15(a): Execute Test Button
If there is a problem with the file, the Validation results pane appears. In our case, we see that there are no errors. You will need to click on the Validation Results tab to the right of the screen to view the Validation results pane as it will not open if there are no errors.
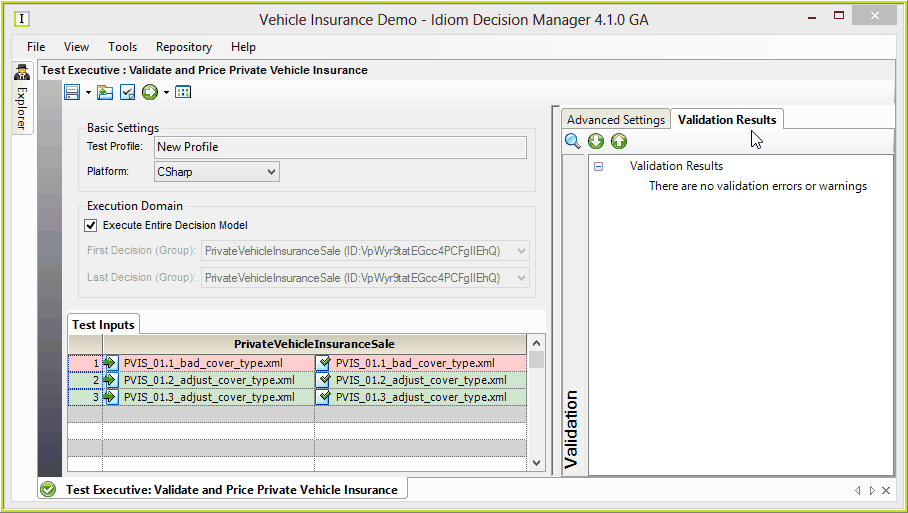
Figure 7-15(b): Validation Results - no errors in test
2. |
If you do find that you need to correct a validation error, simply click on the item in the Validation results pane and it will open the appropriate screen e.g. The Table Definition screen. |
3. |
To re-run your test after you have corrected any validation errors or re-set any advanced settings, make sure to click on the down arrow on the execute button and select 'Build and Test' to incorporate any changes |
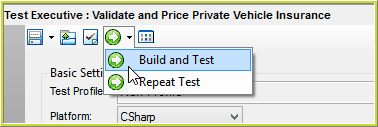
Figure 7-15(c): Build and Test
You are now ready to review your test results. (see Reviewing Test Results).
 to run the first test and generate new output files.