Expanding and Collapsing Tree Views |
  
|
Expanding and Collapsing Tree Views |
|
IDIOM displays the schema defined data definitions in a hierarchical tree format. Each decision, decision group, formula and UDO will be located immediately under its reference node in the schema. For example, the output from a decision is placed into a specific node in the schema (its reference node), and so IDIOM shows that decision under that node within the tree view of the schema (see Figure 2-24).
Tree views in the customized Schema pane and other panes can be expanded and collapsed according to your needs. You may wish to see more or less detail for the whole tree, or just a selected 'branch' of the tree. The tree will expand from below the point that you have selected.
Expand Tree button
1. |
Open the Vehicle Insurance repository |
2. |
Double click on the PrivateVehicleInsuranceSale schema > customized Schema pane |
3. |
Select the desired item in the tree view. To expand all, select the root node. |
4. |
Click on the `Expand Tree' button (see Figure 2-24). |
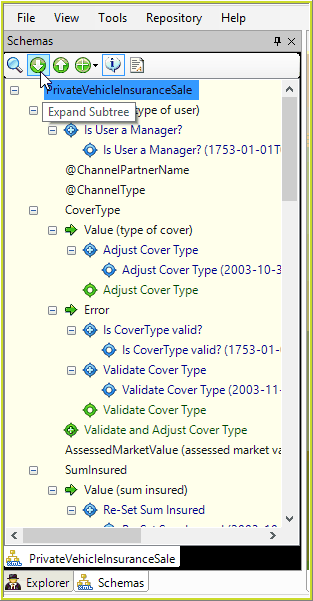
Figure 2-24(a): Schema Pane Tree View - expand and collapse.
5. |
Click on the `Collapse Tree' button |
Icons
1. Click on the 'Expand'  or 'Collapse'
 icons for the desired branch of the tree.
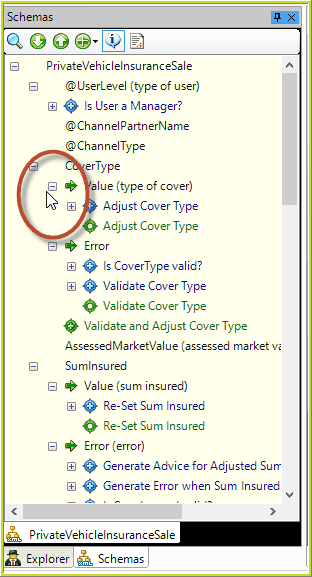
Figure 2-24(b): Schema Pane expand and collapse buttons.
Using the numeric keypad on your keyboard.
1. |
Select (click once) the desired item. |
2. |
Press the minus ( - ) or plus ( + ) key on the numeric keypad on your keyboard. |
Tip |
For more practical exercises go to Finding Text |
 to collapse the selected branch. Once again you can click on the root node to collapse all.