Creating a New Decision Model |
  
|
Creating a New Decision Model |
|
A decision model can be created by the System or Workgroup Administrators. When the Workgroup Administrator creates a decision model they can assign it to their own workgroup or mark it as `Global' i.e. available to all workgroups. However, the Workgroup Administrator cannot create a decision model that will only be used by a workgroup that they do not administer.
To create a new decision model:
STEPS
1. |
Click on the 'New decision model' button in the Explorer pane (or click on File | New | Decision model) |
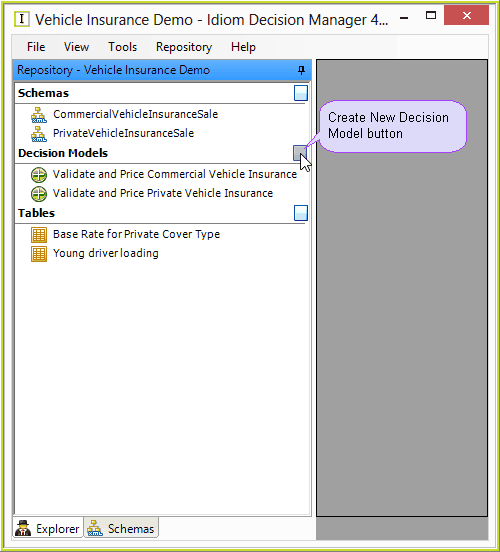
Figure 6-64: New decision model button
IDIOM opens the decision model properties dialog box.
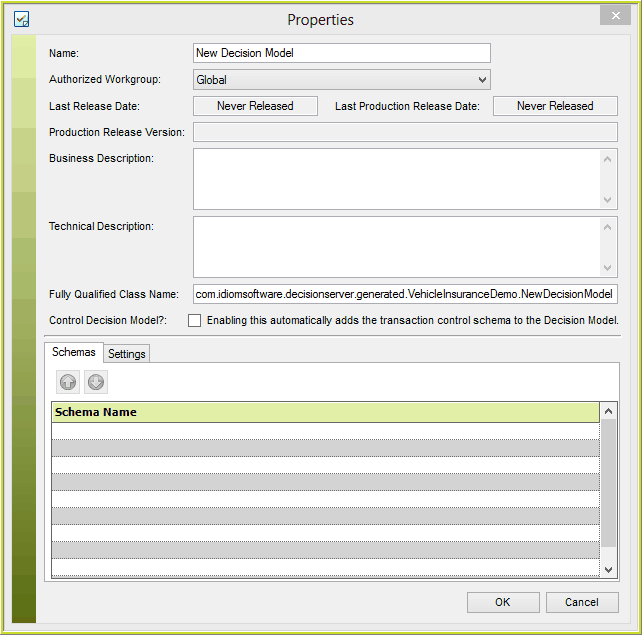
Figure 6-65: Decision Model Properties dialog box.
2. |
Type the name of the decision model in the name field. |
3. |
Select the workgroup you wish to assign the decision model to by clicking on the selector arrow next to Authorised Workgroup. This will enable Workgroup Administrator and Formula Expert rights to be restricted to specific decision models. (See Creating a new Workgroup) |
4. |
Right-click on any row in the Schemas table and select 'Add Schema' to add a schema to this model. |
5. |
Select a schema from the Add Schema sub-menu. |
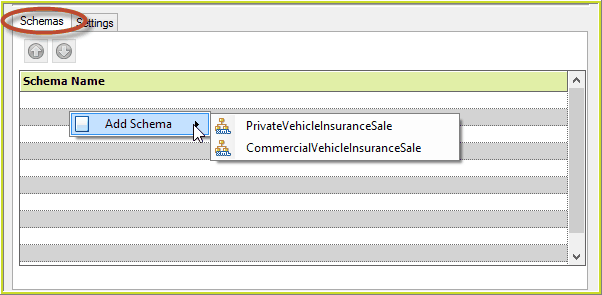
Figure 6-66(a): Adding schemas to a new decision model.
6. |
Click on the Settings tab to set the Inline Test settings. (See In-line Test Settings ) |
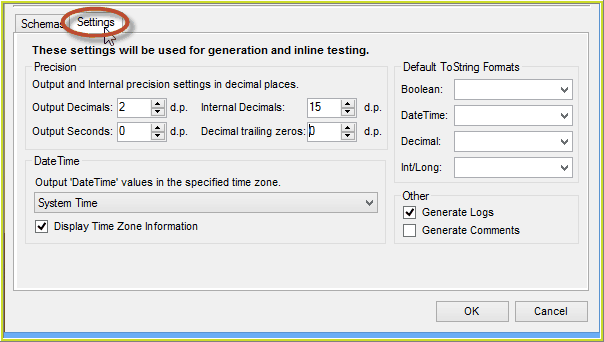
Figure 6-66(b): Inline test settings
6. |
Click OK |
IDIOM closes the Properties dialog box and displays the new decision model in the Workspace.
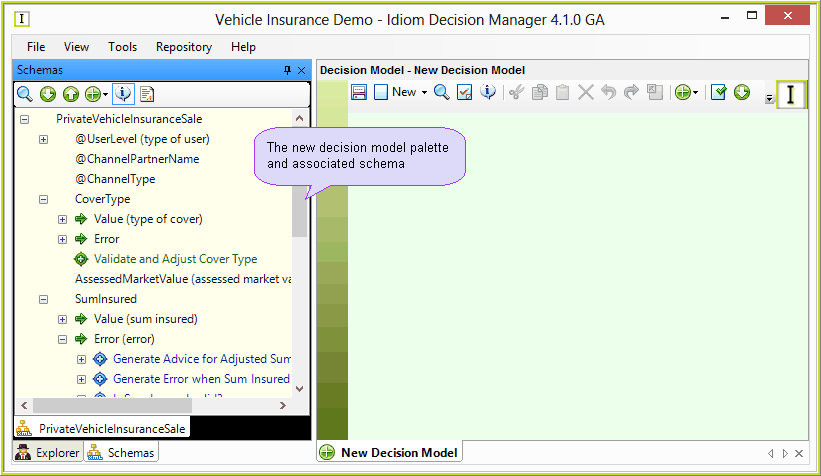
Figure 6-67: The new decision model and associated schema.
Note: You must click on the Save  button in the decision model palette to save the new decision model before it will appear in the explorer pane.