Understanding the Schema Maintenance Window |
  
|
Understanding the Schema Maintenance Window |
|
To open the schema maintenance, right-click on the schema in the explorer bar and click on Schema Maintenance
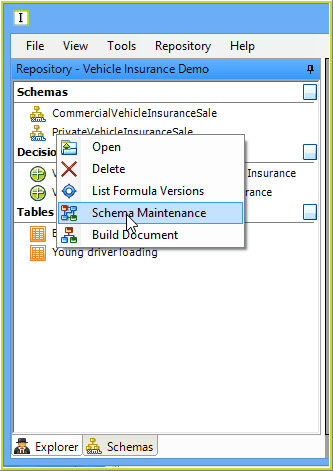
Figure 6-60(a) Open Schema Maintenance
The Schema Maintenance window is split into two main areas:
· |
The left hand side displays the source (old) customized schema. |
· |
The right hand side displays the target (new) customized schema. |
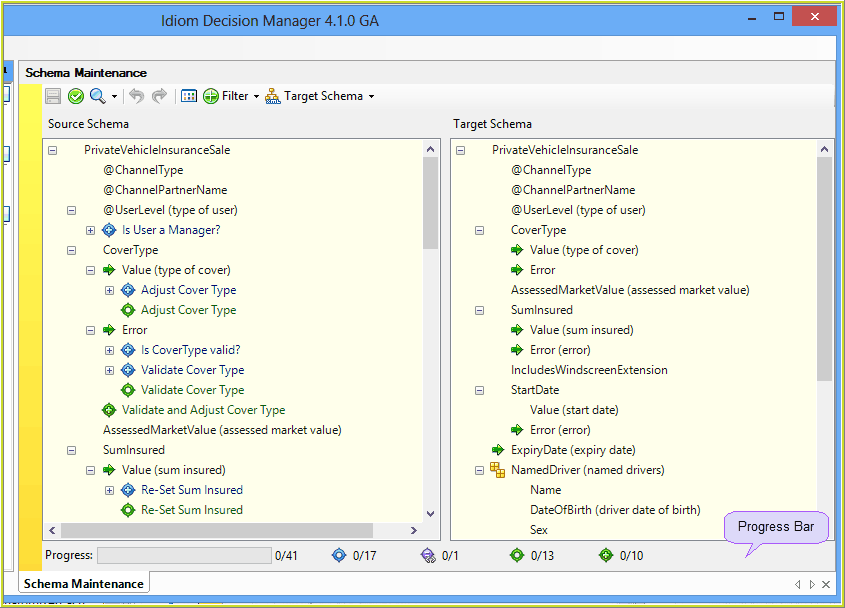
Figure 6-60(b): Schema Maintenance window
When performing schema maintenance, a progress bar along the bottom shows the progress of the transfer of decision nodes, output nodes etc. from one schema to another. These items are identified by their icons. For example,  indicates that 0 of 17 formulas in the source schema have been transferred to the target schema.
A toolbar along the top provides buttons for a number of functions used during Schema Maintenance (see Table 6-6)
Item |
Function |
Save |
Save changes to the target schema |
Validation |
Validate changes made to the target schema |
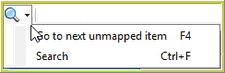
Search
|
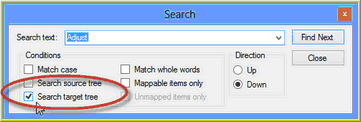
Search for either the next unmapped item or for text (such as part of a decision/formula name) within the source or target schemas.
Note: When selecting your filters for searching text, it is important to select either the 'Search source tree' , 'Select target tree' or both. |
Undo |
Undo the previous action |
Redo |
Redo the previous action |
Toggle Validation/Source Customized Schema |
Switch between the Validation and Source Customized Schemas in the left hand pane of the Schema Maintenance window |
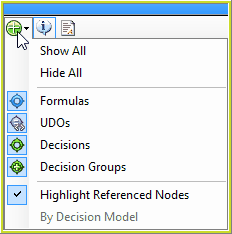
Filter
|
Specify the items to be displayed on the schemas e.g. formulas, decisions etc. You can also select whether or not to highlight all of the nodes in the schema that are referenced by formulas and UDO's. See Highlight Referenced Nodes. When the icon is highlighted in blue, the item is 'toggled on' and displayed on the schema. |
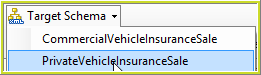
Target schema
|
Specify the target schema to be displayed. |
Table 6-5: Toolbar buttons in the Schema Maintenance window