Configuring IDIOM |
  
|
Configuring IDIOM |
|
A small set of configuration options can be defined for both the client and server. These can be found on the final screen of the .msi installation for both the Repository Server and the Decision Manager client.
You can either simply click on the OK button (use the default settings), or you can customize the settings.
To customize the Decision Manager settings:
1. |
When you first install the server, you will see the Setup Wizard screen |
2. |
Keep clicking on Next, specifying where to install IDIOM and other relevant details. |
Then the Installation settings screen will appear:
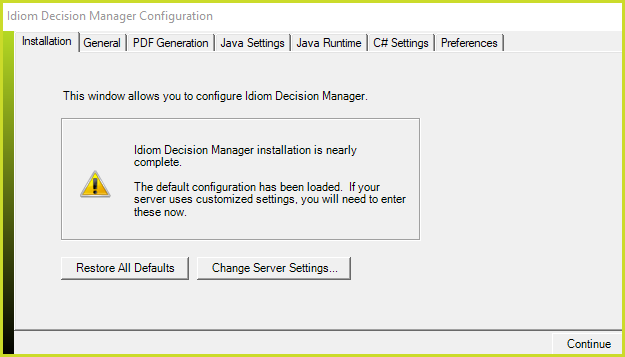
Figure 6-2: IDIOM Installation screen
3. |
Click on Restore All Defaults to restore all default settings, Change Server settings to change the server settings (see the section below for more information on these) or Continue to use the default. |
4. |
Click on the General tab |
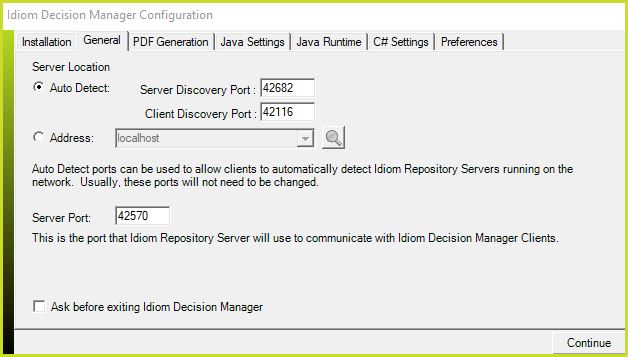
Figure 6-3: General server settings screen
The General server settings screen allows you to specify the ports IDIOM should use. Enter the appropriate options next to Server Port, Server Discovery Port and Client Discovery Port.
5. |
Next, click on the PDF Generation tab > PDF Generation settings screen |
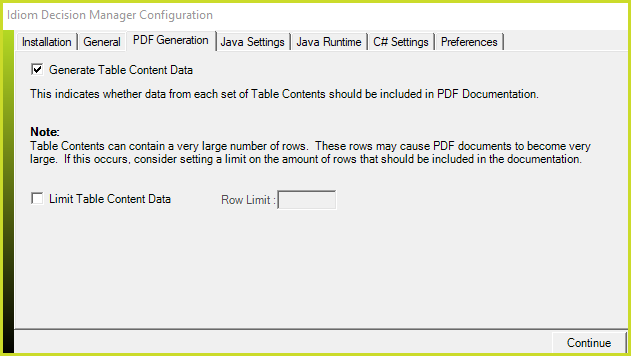
Figure 6-4: PDF Generation settings screen
Here you can specify whether data from Table Contents should be included in the PDF Documentation and enables you to limit the amount of data included by inputting a row limit
6. |
Click on the Java Settings tab > Java Settings screen. Specify the relevant settings. |
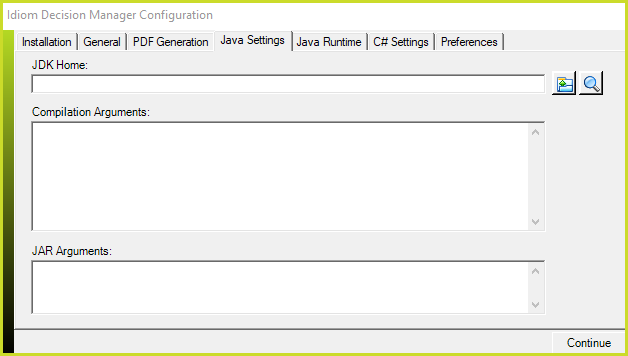
Figure 6-5(a): Java Settings screen
7. |
Click on the Java Runtime tab > Java Runtime screen. Specify the relevant settings. |
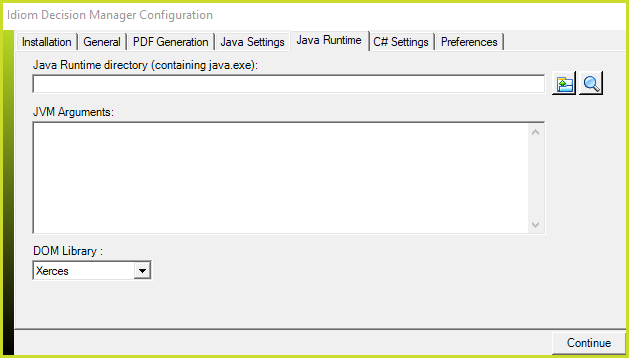
Figure 6-5(b): Java Runtime screen
8. |
Click on the C# Settings tab > C# Settings screen. Specify the relevant settings. |
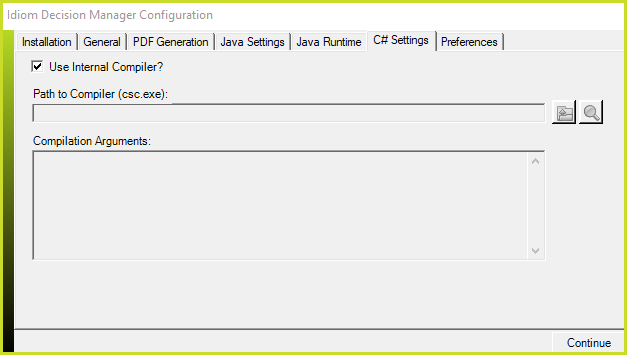
Figure 6-5(c): C# Settings screen
9. |
Click on the Preferences tab > Preferences screen. Specify the relevant settings. |
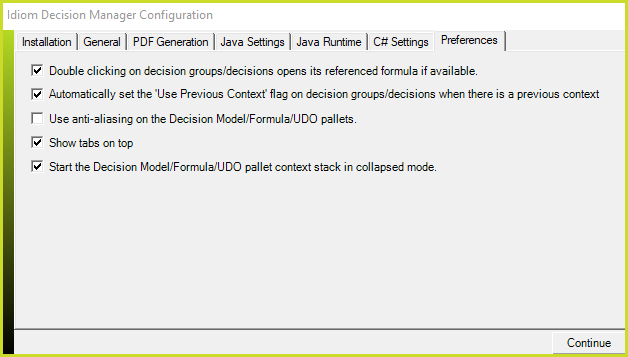
Figure 6-5(d): Preferences screen
10. |
Once you have entered all of the appropriate specifications, click on the Continue button. |
11. |
Click on Finish |
To customize the Repository Server settings:
1. |
When you first install the server, you will see the Server setup wizard screen |
2. |
Keep clicking on Next, specifying where to install IDIOM and other relevant details. |
Then the General server settings screen will appear:
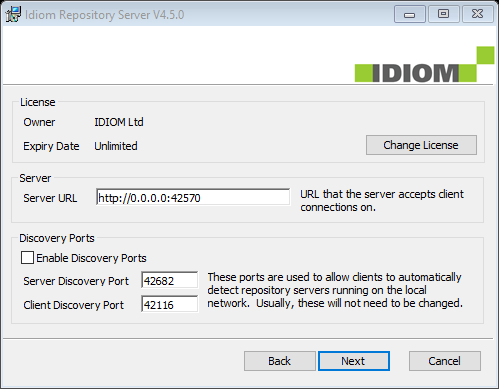
Figure 6-6: General settings screen
Specify which Ports IDIOM should use by selecting the appropriate options next to Server Port, Server Discovery Port and Client Discovery Port. You must ensure that these match those you select for the Decision Manager.
6. |
Once you have entered all of the appropriate specifications, click on the Next button. |
7. |
Click on Install |
NOTE: You can also change the settings once you have installed IDIOM by clicking on Tools | Options and specifying the new entries in the screens shown.