Installing IDIOM |
  
|
Installing IDIOM |
|
STEPS to installing Idiom
1. |
Please download the 64 bit installer from the Customer Resources link on our web site: http://sales.idiomsoftware.com/Customers |
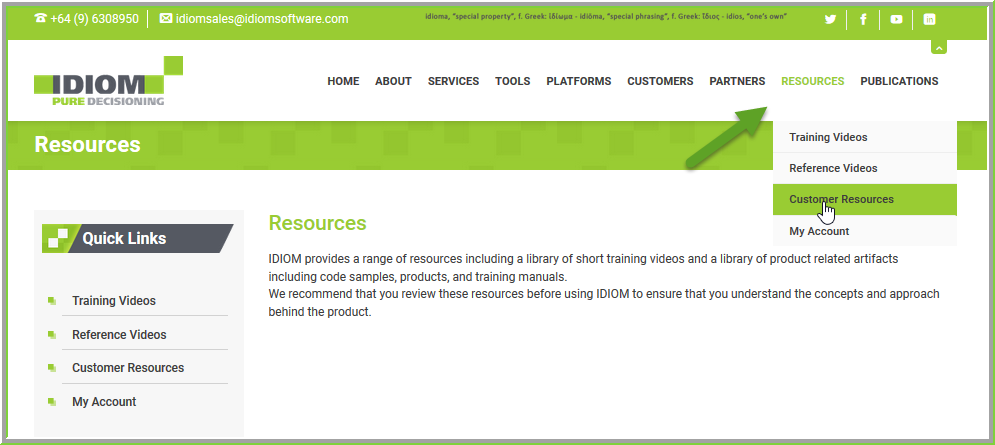
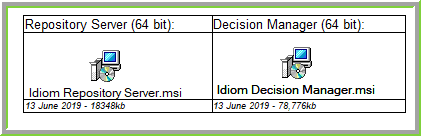
Figure 6-1: IDIOM installation files
2. |
Download the I(DIOM Decision Manager and Repository Server .msi files from Latest GA Release page. The Repository Server.msi file is only required for local and server installation. It is not required for cloud based installations. |
3. |
Click on the files and follow the wizard-driven instructions to install IDIOM. |
Use `local' options to run standalone systems; you can also run the server on a network and install multiple clients (for recommended specifications, see Server Specifications). Please contact Idiom (Getting help on IDIOM) for cloud based installations.
IDIOM will be installed into your nominated directory structure. Within the IDIOM Decision Manager directory, the install will create a sub-directory for sample repositories (..\Idiom\ IDIOM Decision Manager v4.5\Sample Repositories) and for sample files (..\Idiom\ IDIOM Decision Manager v4.5\Sample Files). The Sample Repositories folder contains the repositories that are used in the examples in the manual and the Sample Files folder contains the schemas for these repositories as well as other sample files.
4. |
Open the IDIOM Decision Manager by clicking on the IDIOM icon on your desktop (see Logging Onto IDIOM). |
NOTE: You will need to ensure that you have the Microsoft .NET Framework (Version 4.5) installed prior to running any of the MSI installers. If you are deploying Java code, you will also need JVM 1.6.
API documentation for IDIOM can be found at: ..\IDIOM Decision Manager v4.5\Decision Server Libraries\CSharp and..\IDIOM Decision Manager v4.5\Decision Server Libraries\Java